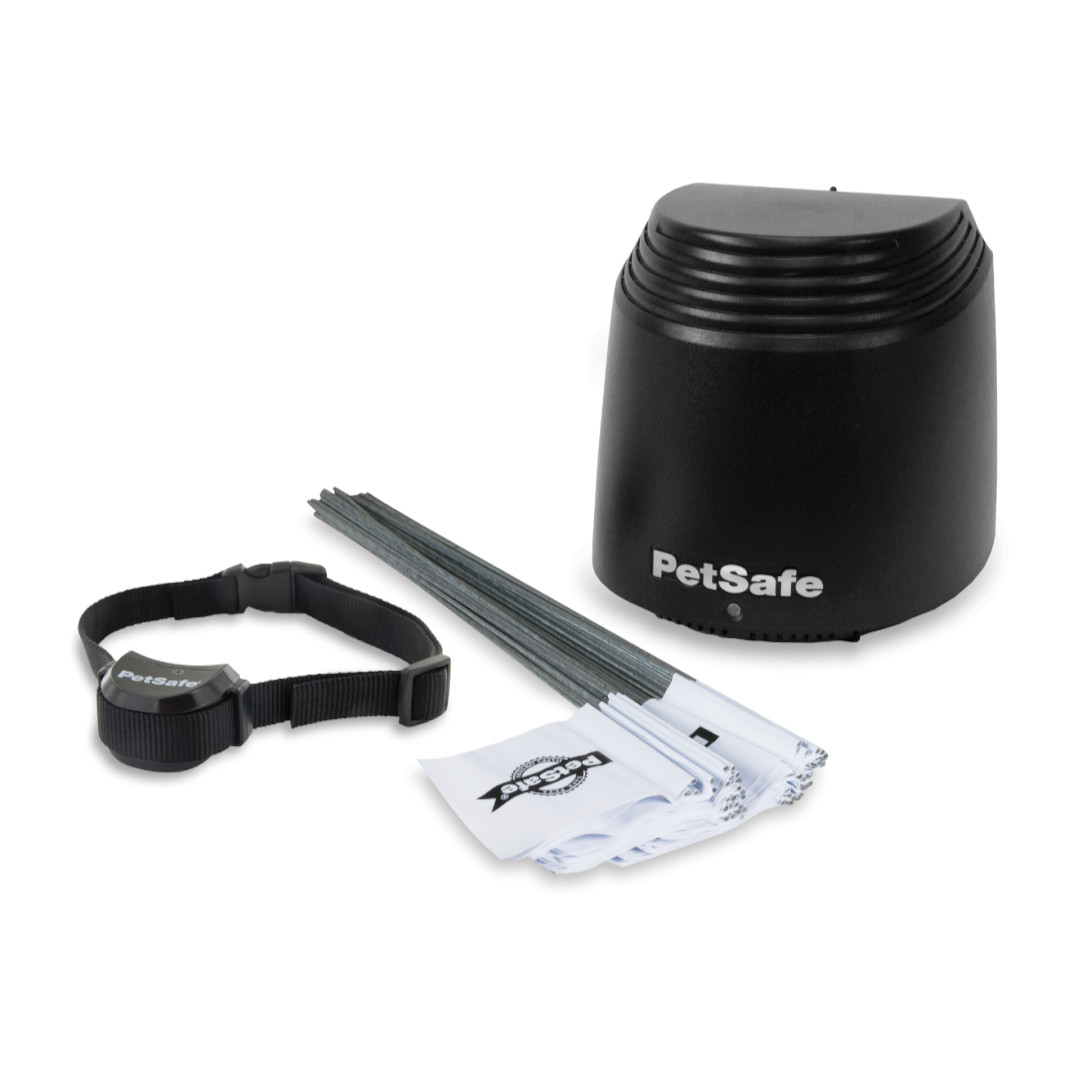
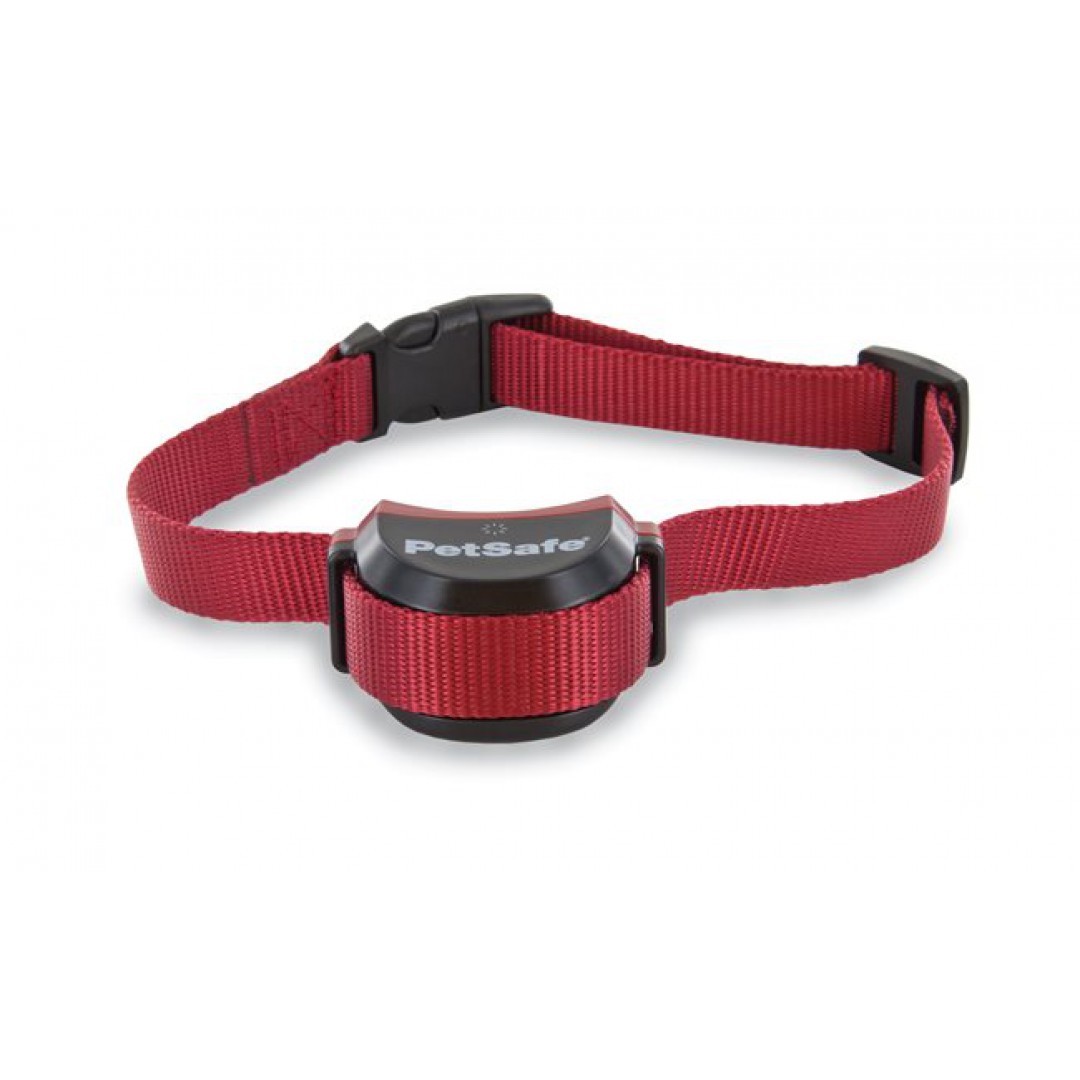
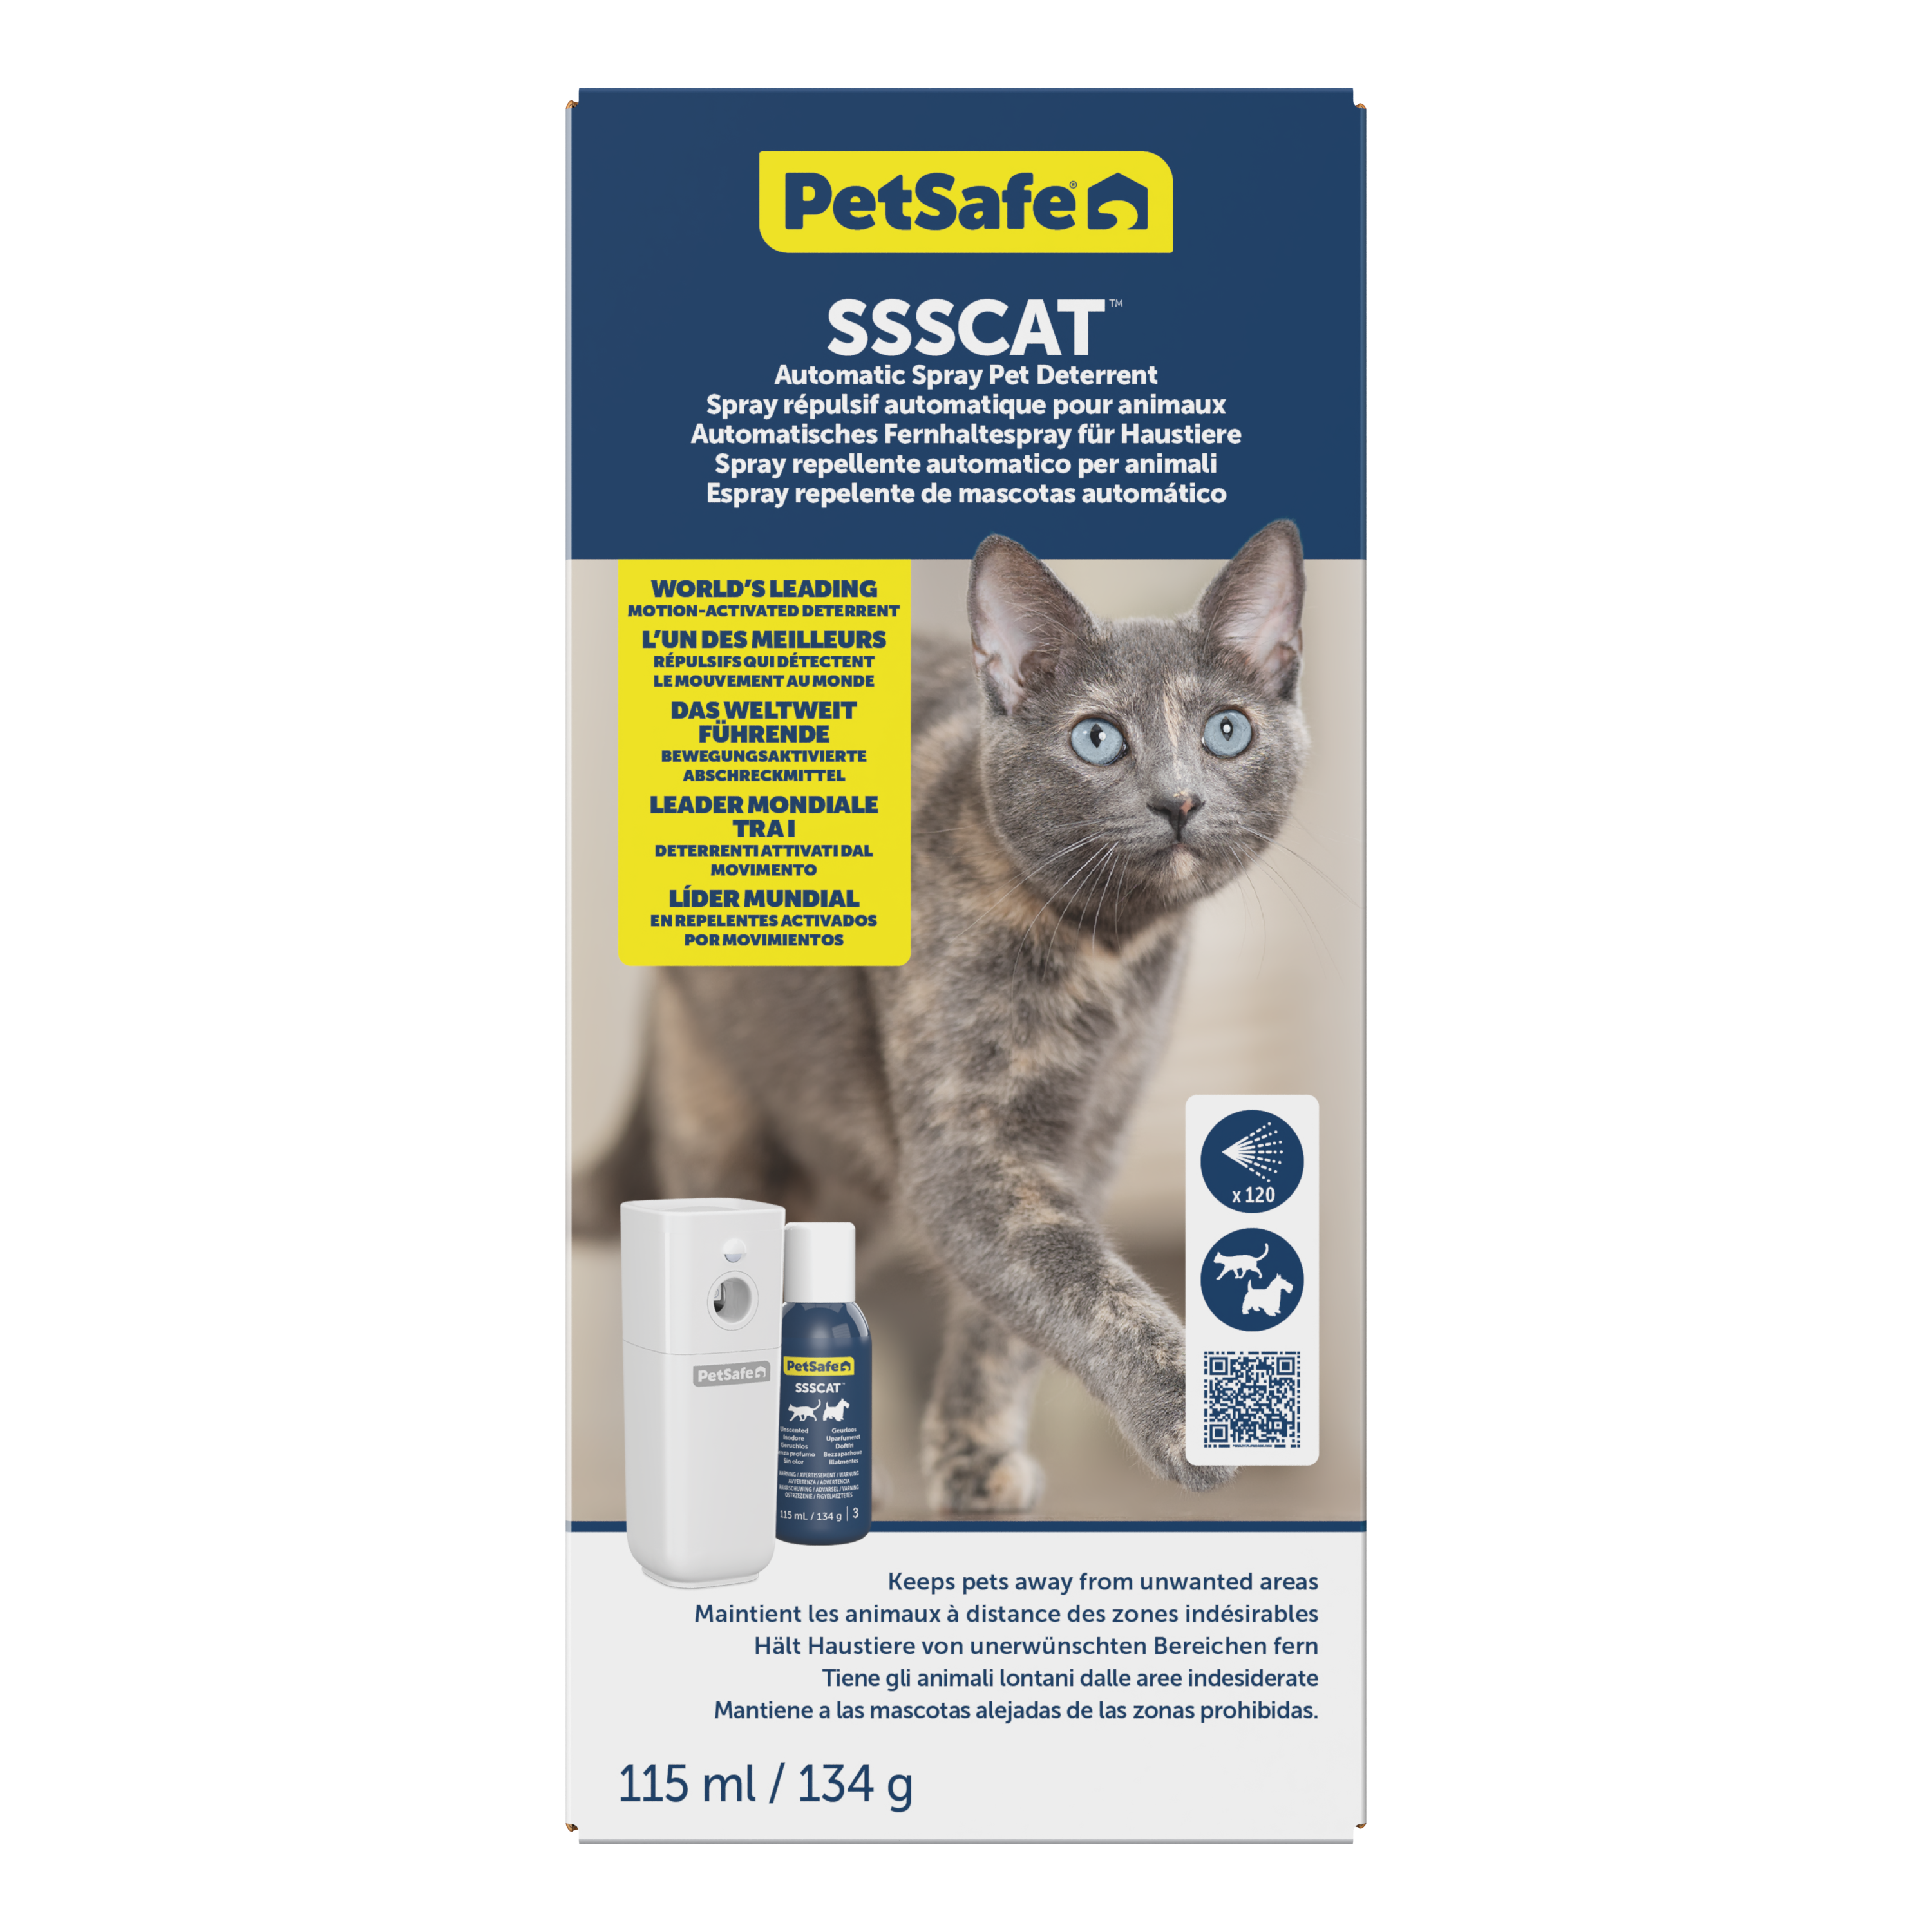
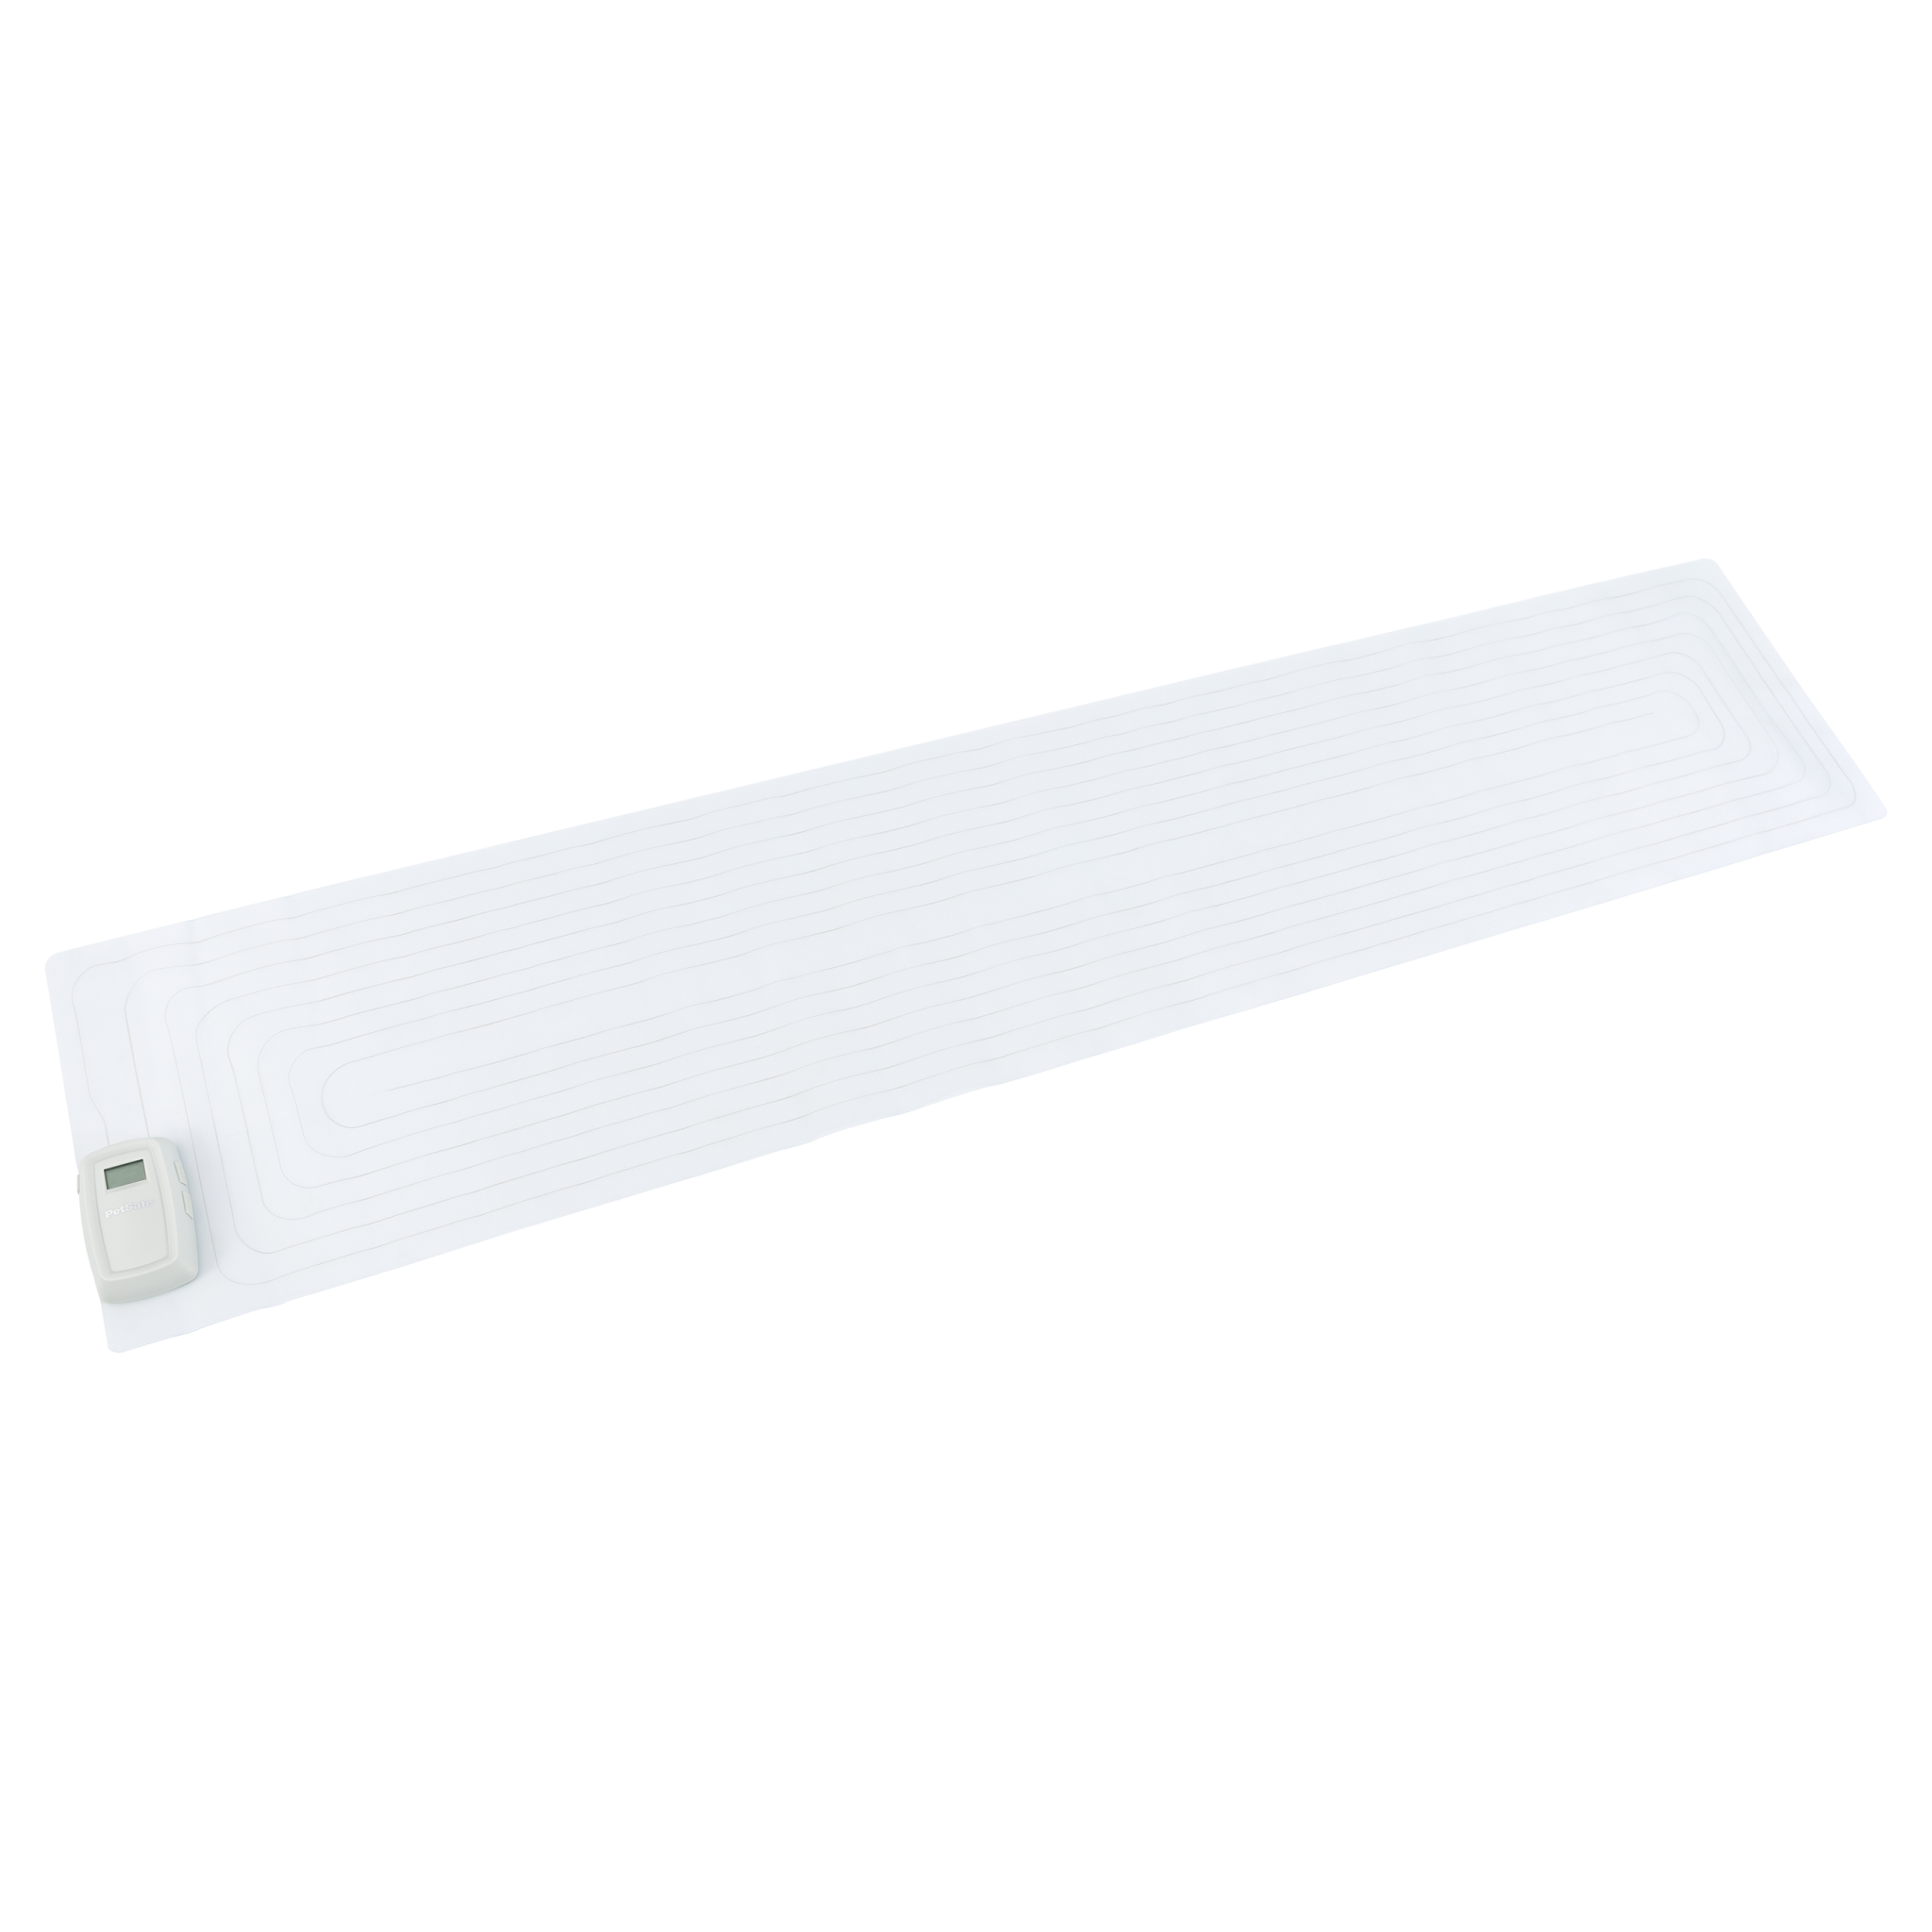
For manuals & product support, start typing the name of your product here. You can also browse by category and product below.
Register your product so you get the most out of your warranty and so we can assist you better if you call in for phone support.
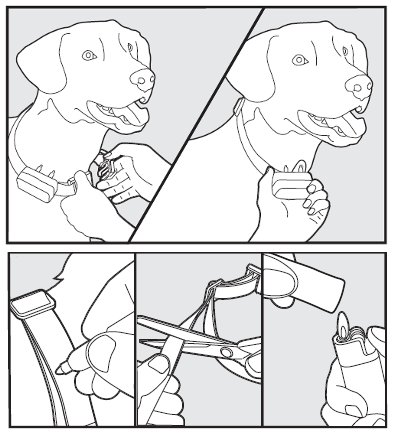
All pets are different, so it's important to be patient with yourself and your pet. Some pets may understand the training quickly, and others may take more time. Paying attention to your pet while you are going through the training and having patience will ensure you both enjoy years of freedom and safety.
Goal
The goal of phase 1 training is to familiarise your pet with the boundary flags, boundary, tone and stimulation. You will introduce your pet to the tone and the static stimulation and teach your pet where it happens.
Setup
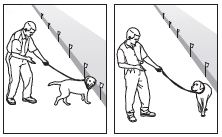
Familiarising your pet with the boundary flags
Introducing your pet to the static stimulation
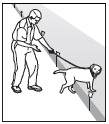
Training sessions should start at 10-15 minutes, gradually increasing to over an hour. Your pet is ready for this step only when he clearly avoids the entire boundary flag line, regardless of any distractions or temptations. During this step, do not leave your pet unattended.
Goal
To train your pet to stay within the pet area even with distractions outside of the pet area.
Setup
Steps
Goal
To give your pet free run of the pet area off the lead.
In addition, there are systems that use receiver collars which are specifically designed for small dogs, cats and stubborn dogs. Purchase an extra compatible receiver collar for each additional pet who will use the system. Note that certain systems are not compatible and in-ground and wireless collars are not compatible.
No. Containment systems are only effective on pets who wear the receiver collar. Other animals can still enter your garden.
The static stimulation is safe and harmless. It is effective enough to get your pet’s attention.
Yes. There is no limit to the number of pets you can contain with the containment system. It’s as simple as purchasing an additional (compatible) receiver collar for each pet. You can purchase additional receiver collars online or contact our Customer Care Centre.
Before making any changes to your system, remove the receiver collar from your existing pet(s). When adding pets to new or existing electronic fence systems, check the boundary limits for each receiver collar separately before using on your pet and adjust the transmitter range as necessary.
Never leave the receiver collar on your pet for more than 12 consecutive hours and remove the receiver collar from your pet when indoors for your pet’s comfort. Millions of pets are comfortable while they wear stainless steel contacts. Here are some important steps for the health and comfort of your pet:
If a rash or sore is found on your pet:
Yes, the receiver can be place on any non-metallic strap. However, you must be able and willing to “punch” two holes in your pet's current collar so that the contact points can be properly inserted. Do not attach a lead to a collar that has a receiver on it. This can cause additional pressure on your pet’s neck through the contact points in the collar.
Pets should be at least 6 months old before you start training them to use a containment system.
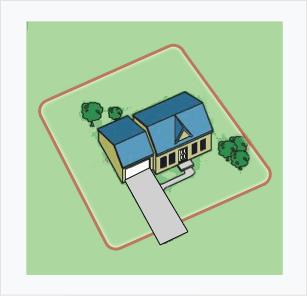
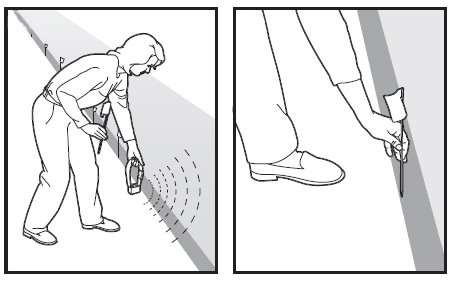
The flags should go just inside of the boundary zone, or along the wire for in-ground fences. To locate the boundary:
This can happen if the static stimulation level is too high. It is best to start on the lowest level of stimulation and increase the levels gradually. To solve your immediate issue, lower the static stimulation level and reassure your pet and offer praise.
Make sure you are in control of the situation when your pet receives his/her first static stimulations (have him/her on a lead attached to a separate, non-metallic collar) and lead him into the pet area and praise him/her. If your pet remains fearful, suspend training and start again the next day. Make sure to end all training sessions on a positive note with lots of praise and play.
Plug the transmitter into another wall outlet. If the lights don’t come on, contact our Customer Care Centre.
If it is a model with a stimulation level button, press and hold the button down for approximately 20 seconds. For models without this button, take the battery out for about 1 minute or take it to the boundary and activate the collar until it no longer corrects. Make sure that the tab under the battery is lifted, if applicable.
It can be very concerning to find a lost pet and most of us want to find the owner as quickly as possible. Unfortunately, at this time, there is not a way to match the collar with the owner. Please contact your local authorities to understand what services are available in your area to help locate the owner.
When installing an in-ground fence system, lay out the boundary wire around your property. Use your proposed boundary and test the system BEFORE burying the wire or attaching it to an existing fence. This will give you freedom to adjust your wire layout should you need to.
If you must cross underground utilities or buried cables with the boundary wire, do so at a 90-degree angle (perpendicularly). If you have a neighbour with a containment system, keep the boundary wires of your systems at least 1.5 metres apart. It may help to talk to your neighbour about the location of their boundary wire in their garden. If separating the wire by at least 1.5 metres from a neighbouring containment systems wire does not reduce the inconsistent signal, contact our Customer Care Centre.
To twist the boundary wire
Twisting the boundary wire cancels the signal and allows your pet to cross over that area without receiving a static stimulation. When twisting wire, you must be twisting wire that completes the radio signal circuit. This means, there is a wire leading from the transmitter and the wire goes around your garden and returns to the transmitter. You must be twisting portions of the leading and returning wires together in order to cancel the signal in that area. Plastic or metal piping will not cancel the signal. Twist the boundary wire 30 times per metre to cancel the signal.
To splice or repair the boundary wire
If you need additional boundary wire to expand your wire loop, you will need to splice the wires together. Since wire breaks tend to occur at splices, it is helpful to note the locations of all splices for future reference. We also recommend that you create waterproof splices using gel-filled splicing caps. These are available for purchase online or by contacting our Customer Care Centre. They are also included in current in-ground containment systems.
To create a splice or repair wire

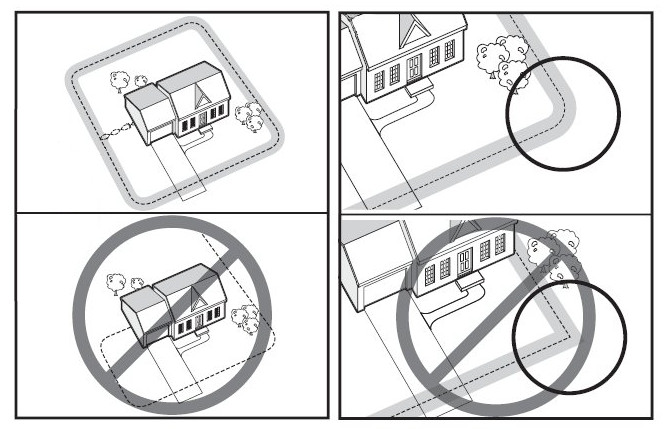
A double loop is a type of wire layout which gives you the option to establish a boundary when you do not want to contain your whole property, or to allow for a place for your pet to safely cross.
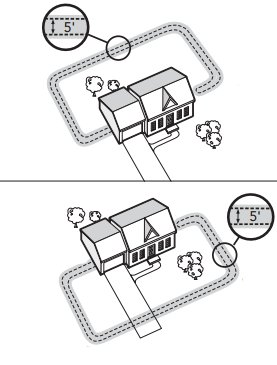

This is dependent on the layout you have planned, soil conditions, the tools you are using, amount of wire buried, etc. The majority of the time involved in installing your system is in burying the wire. This is typically considered a weekend project; it can be completed in about a day. It's very helpful to have someone to help you plan, layout and install the system.
We recommend burying the wire about 2.5 cm deep. The wire needs to be able to send the signal out to the collar.
You can leave the boundary wire above ground or even attach it to an existing fence, but it is not recommended due to the potential for damage to the wire. We do recommend that you bury the wire or place it in a protective casing like a water hose but the system will work with the exposed and wire above ground. The boundary wire is buried so that it is not accidentally tripped over, cut, or damaged. Use care when using a lawn mower or weed trimmer or when digging near the boundary wire to prevent damage. It can be attached to any fence including a metal fence as long as it is galvanised. When attaching the boundary wire to the fence, be careful not to sever the wire.
You have a few options for working with a driveway as a part of your containment system.
Concrete Driveway
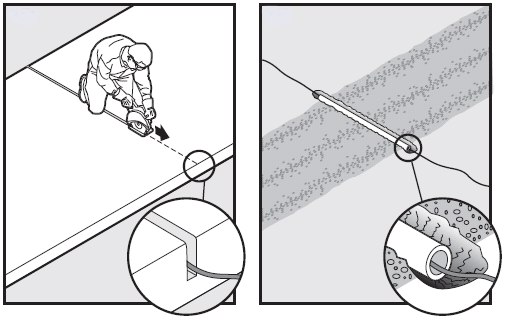
If your driveway is concrete, you can place the boundary wire in a convenient expansion joint or create a groove using a circular saw and masonry blade.
If you do not wish to cut your driveway and an expansion joint is not an option, you may want to consider using a double loop layout. You may also want to reconsider your layout and avoid the driveway as part of your containment area.
Gravel or Dirt Driveway
If your drive is gravel or dirt, you can run the boundary wire through a PVC pipe or section of water hose to protect the boundary wire. Then bury the pipe or hose and wire.
The ideal distance for your boundary is between 1.5 to 3 metres, depending on the available garden distance. The higher the width, the greater the distance between your pet’s safe area and the end of the boundary. Keep this as high as possible, so you will have fewer problems keeping your dog in the garden. Please keep in mind that good training is always needed.
Before you begin splicing wire, it will be helpful to you to take note the locations of all splices for future reference. If you ever have a wire break, these most often happen at a splice and it will be helpful to you to be able to find your splices easily if this ever happens.
It will also be helpful to make your splices waterproof. Gel-filled splices are available at most hardware stores and are included in your original containment system. To make a splice:

If the receiver collar is not activating see “My receiver collar is not providing static stimulation.” If the collar is activating:
The system test is used to determine the cause of system problems that have not been addressed elsewhere in this guide. You will need a piece of Boundary Wire greater than 4.5 m long with 1 cm of insulation removed from each end to use as a test loop wire. Make a note of your Boundary Control Switch setting, Boundary Width Control knob setting, and Receiver Collar setting before beginning the System Test. Follow the steps below to perform the system test:
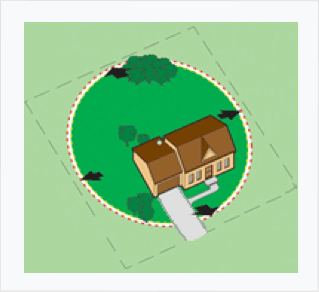
The wireless transmitter creates a circular containment area for your pet. The transmitter is at the centre of the circle.
Choose a location for your transmitter that meets the following criteria:

After you have chosen the location for your transmitter, next:
If you wish to adjust the boundary area, you can either adjust the size of the area by adjusting the boundary dial up or down, or you can adjust the location of the boundary area by moving the transmitter within your home.
Consider the layout of your garden, its size and the area that you want to create for your pet to enjoy. The wireless fence creates a circular containment area, with the transmitter in the centre of the circle. Make sure the entire pet area lies within your property boundaries. If the boundary zone will be less than 14 metres from the transmitter, place the boundary switch on ‘low’. If the boundary zone will be greater than 14 metres place the boundary switch on ‘high’. Remember that you may also move the transmitter within your home to adjust the location of the containment area as needed.
You can use one of two methods to set up and check your boundary area.
Two-Person Method
One person should hold the receiver collar at your pet’s neck height with logo side facing away from the transmitter. This person with the collar should walk out into the garden to the edge of the desired containment area. Facing away from the transmitter, hold the receiver collar at the edge of the desired pet area. The second person, should be at the transmitter. Begin with the boundary control dial set to 8, the person at the transmitter should turn the dial down SLOWLY. When the receiver collar starts to beeps, tell the person at the transmitter to stop turning the boundary control dial. Using cell phones to communicate with each other may help to make this process easier. Now your boundary is set. Note the boundary setting on the transmitter for future reference
One-Person Method
Measure the shortest distance from the desired boundary zone to the transmitter. Find the distance on the transmitter range chart below and set the boundary switch and boundary control dial. Take the receiver collar to the boundary zone with the receiver collar at your pet’s neck height with logo side facing away from the transmitter. Determine where the receiver collar begins to beep. If the receiver collar beeps before or after the desired boundary zone, return to the transmitter and adjust the boundary control dial. Repeat this process until the receiver collar is beeping at the desired location. Record your settings in your operating guide or next to the transmitter for future reference.
When replacing batteries in your receiver collar, please make sure you insert the batteries while standing within 1.5 – 3 metres of the transmitter. If using a receiver collar with multiple levels of stimulation, press and hold the stimulation level button until the LED diminishes before installing the new battery.
This is used to reprogram the receiver collar to the transmitter in the event of signal loss, for testing purposes to ensure the receiver and transmitter are communicating and in the event that the receiver collar is not responding as it should be. Remove all receiver collars from all pets before proceeding.
If your receiver collar(s) does not respond, repeat steps 1 - 5. To get the normal boundary settings, dial the boundary control dial toward 8 until the desired boundary settings are established.
Drain the battery. Try new batteries if that fails. Replace the receiver if both steps fail.
![]() Sigma Imports
Sigma Imports
Monday to Friday
07:00 - 19:00
Saturday
08:00 - 16:00
Need help with your product?
Customer service is at the heart of everything we do. We’re committed to giving you expert advice to ensure you always receive the very best.
© 2025 Radio Systems Corporation All Rights Reserved. * Registered in the U.S. Patent and Trademark Office. Privacy Statement Cookies Policy

.png)
